Here are my supplies:
Old Faithful, inherited from an unknown grandma; pins; scissors; sewing needle; and thread.

My first step was cutting the fabric to size using the pillow. I pinned around the edges BEFORE I cut.

I kept one edge open. On that edge I sewed a little "hem" inside, just about the width of the foot.

As
we say in the Pribyl household: TADA! On the inside it doesn't really
need to be a straight line--no one will see it but you and I.

When
I sewed up all the sides, I sewed them 2 times. I lined up the edge of
the fabric on 1/2", and sewed it once with the needle in center
position, and the second time in the right position.


After I sewed up all the sides, I turned it inside out and pushed out the corners. This is an example of a BAD corner.

And this is a good corner. Nice and crisp.

Stuff your pillow inside of your pillow case.

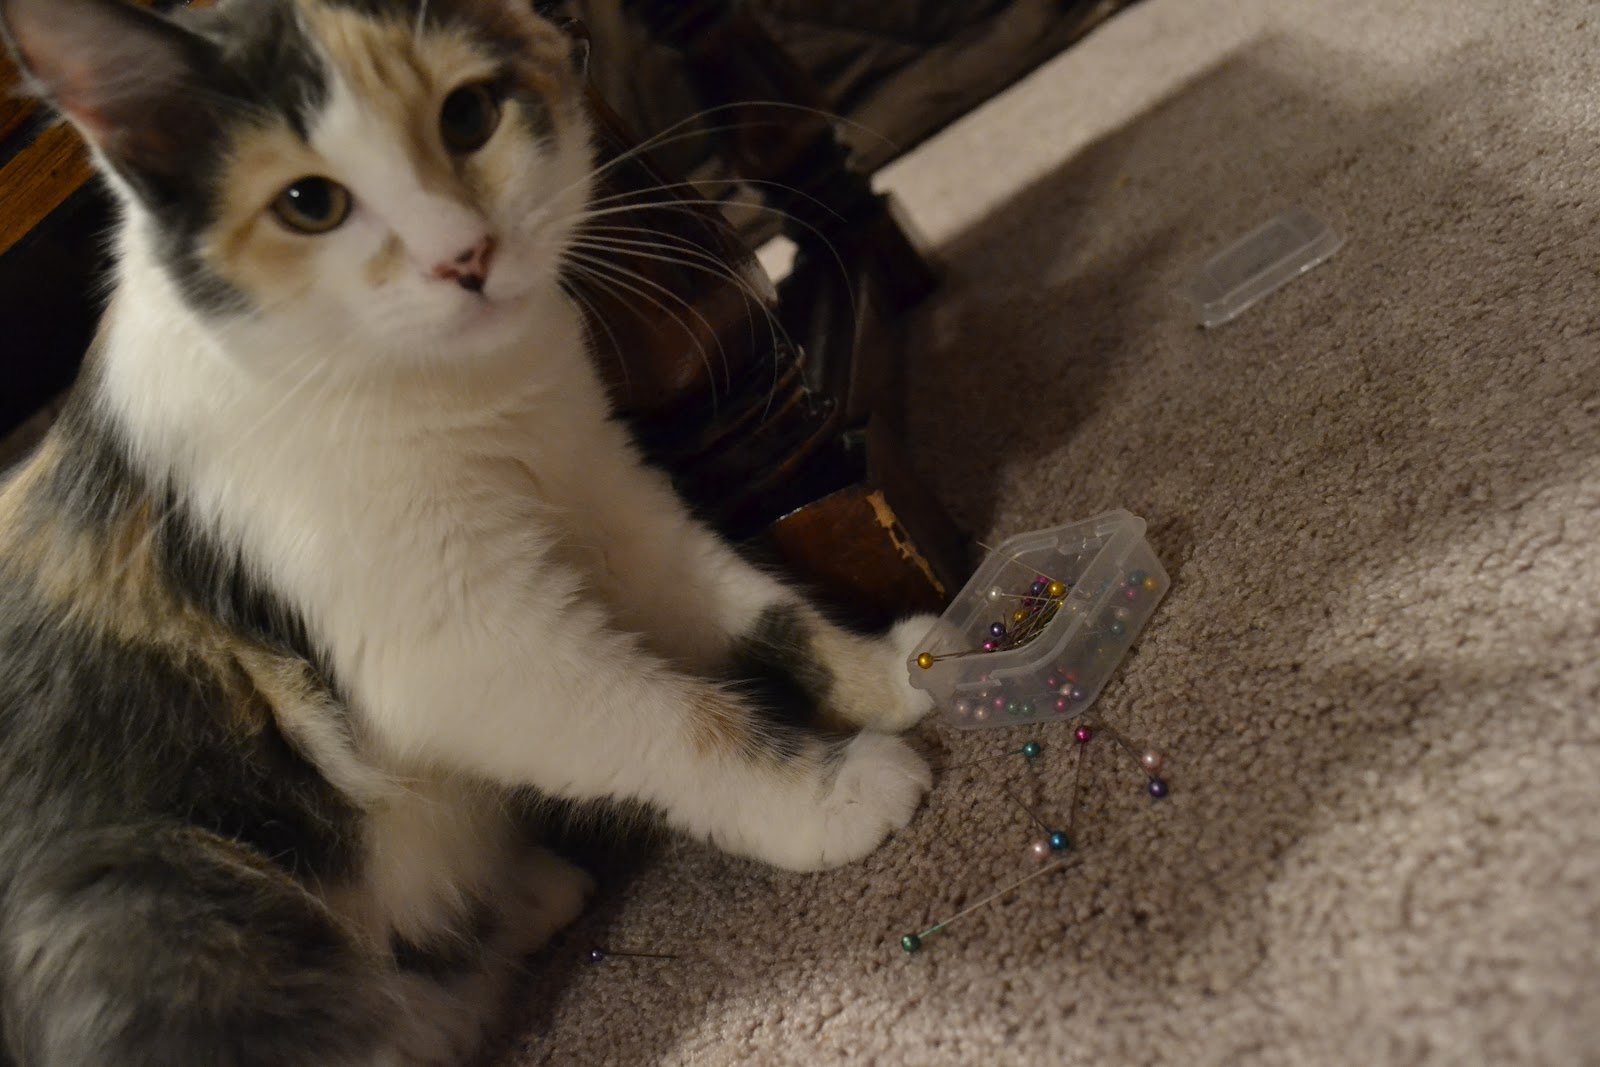
I had to take a break and save emo kitty from stabbing herself multiple times... in the mouth.

She didn't understand why I made her stop.
Back to the pillow, I folded in the hem we made earlier and pinned it up.

I doubled my thread, then threaded it through a nice sturdy needle.

Then,
I tied the two ends together. Which means every time the needle passes
through the fabric, FOUR strands go through. I cut off the excess so it
wouldn't stick out.

This
is my demonstration of a slip stitch. I don't know why they call it
that, but my mother can. I tried to make them look kind of pretty--but
not perfect. Things you buy at the store are all messed up on purpose to
look pretty!

She stole me needle...

And tried to kill herself again.

Just keep going and going and going... this is what I have so far.

Now my pillow is done! Just tie off the ends and hide the excess string.

It looks good with my other crazy pillow :)

No comments:
Post a Comment